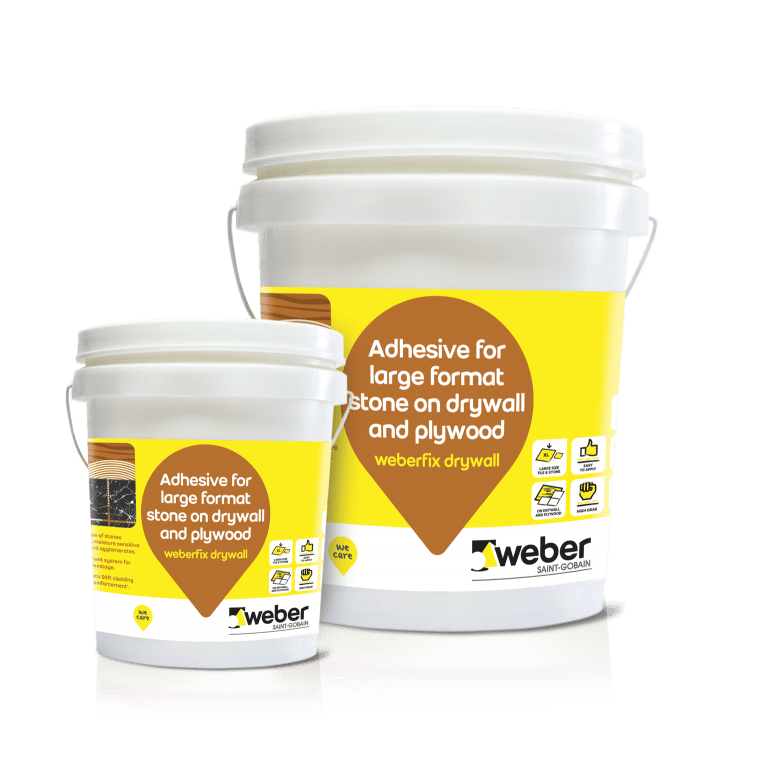
Weberfix Drywall


Packaging
20kg buckets (Component A 15kg and Component B 5kg)
Adhesive for large format stones on drywall and plywood
Easy to use | Good coverage | Heavy duty applications | High bond strength | High durability | High tensile strength | Wall cladding | Trowel application | Large size tile and stone | Easy to apply | On drywall and plywood | High grab durability
Support
Wall, Floor
Weberfix drywall is a two-component high-performance tile and stone adhesive, which can be used for almost all types of tiles*, over almost all types of substrates including green and moisture-sensitive marble & agglomerates. weberfix drywall is specially formulated, for fixing large format tiles & stones on drywalls and plywood.
- Moisture free system: Does not damage wooden substrates or tiles, and water sensitive stone.
- Very High Bond strength 2 Component adhesive: prevents wastage, as the only quantity which is required has to be mixed.
- Easy to use
- Fast Setting
- Can do cladding up to 50 ft. height, without any supporting bracket*.
- Under tile treatment of stone (to prevent discolouration) is not required.
- Can be used for fixing moisture sensitive stones, like green marble.
- Reaction bases system, and thus not harshly affected by temperature & humidity.
- Can be used on touch dry surface of the concrete. Do not need to wait for the substrate to get completely dry.
- For fixing tiles and stones on drywall & plywood.
- For large and heavy stones, initial support required for at least 5 hours for vertical application
- Not for fixing Metal or glass tiles. Use Weber bond poxy for fixing metal and glass tiles.
Weberfix Drywall Related Products
-

 weberset glass mosaic
Adhesive For Fixing Glass Mosaics: Weberset glass mosaic is a polymer modified cementitious tile adhesive especially for fixing glass mosaic, internal and external floor and wall areas, high bond strength for glass mosaic, low porosity tiles and stones.
-

 weberset fastfix
Fast Setting Adhesive For Fixing Tiles And Stones: Weberset fastfix is a fast setting, highly polymer modified, high-performance thin-set adhesive, for fixing tiles, stones and mosaics, on a variety of surfaces, for wall and floor application, in internal as well as external area. It is designed for installation of tile & stones for overnight repair, renovation and faster fixing, supplied as a dry mix mortar, to which water needs to be added before application.
-

 weberfix PU
Pu Based Thinset Adhesive - For All Types Of Tiles & Stones On Any Substrate: Weberfix pu is a two-component, ready to mix, polyurethane-based thin-set adhesive for fixing all types of tiles and stones on a variety of substrates including metal surfaces and drywall boards. Weberfix pu is suitable for application on the interior as well as exterior wall and floor.
