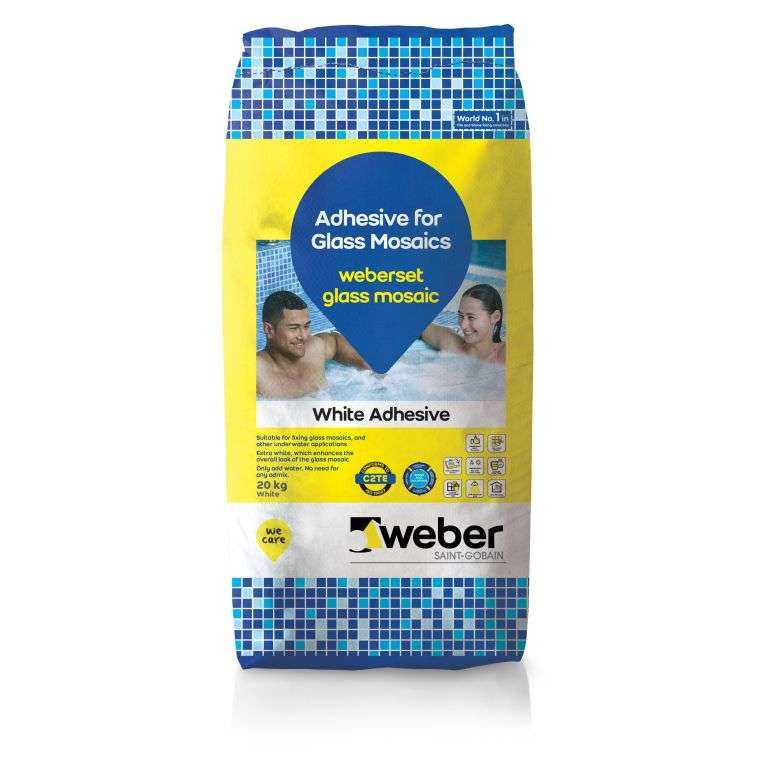
Weberset Glass Mosaic


Packaging
20 kg bag
Adhesive for fixing glass mosaic.
Ready to mix | Self curing | For glass mosaic
Support
Floor, Wall, Swimming pool
Weberset glass mosaic is a flexible, cement-based polymer modified tile adhesive for internal and external use, especially for Glass Mosaic. It is suitable for fixing all types of ceramic wall and floor tiles, mosaics, marble, terrazzo, natural stone, brick slips and glass blocks in dry or wet areas, including swimming pools.
It is particularly suited for areas with some movement, deflection or limited shrinkage is likely. It has the finest particle size which makes it easily workable enhancing the colours of the glass mosaic tiles. weberset glass mosaic has extended open and adjustability times making installation easier with no sagging or slippage. Being a high strength, flexible tile adhesive, it can be used for heavy-duty applications on a variety of substrates.
- Brightest white adhesive enhances the colour of glass mosaic.
- Free-flowing powder, having the long open time & prolonged workability when mixed as a paste makes it easy to install.
- No hacking required-having a high bonding strength it can be used to fix tile & stone on various substrates.
- Being self-curing it optimizes the usage of water and labour at the site.
- Being water resistant it can be used to fix various types of tiles including glass mosaics in swimming pools & other wet areas like showers, bathroom etc.
- It can sustain heat ageing.
- It has no shrinkage and is particularly suited for situations where some movement, deflection or limited shrinkage is likely.
- Absorbs dynamic loads which make it suitable to use in swimming pools where the water pressure or load may vary in a filled swimming pool and an empty swimming pool.
- Quick setting times which helps in faster construction.
- Can be used at depths up to 10 meters underwater which makes it particularly suitable for swimming pools.
Not to be used on:
- on wood or wooden conglomerates
- on metal, rubber, plastics, vinyl or linoleum surfaces
- for ceramic and vitrified tile installations when an adhesive layer thicker than 10 mm is required
- on the concrete subject to strong delayed movement, that is, with less than 6 months curing time.
- on the cementitious substrate which is not properly cured.
- on surfaces subject to vibrations.
- on plasterboard and fiberboards
Weberset Glass Mosaic Related Products
-

 weberset fastfix
Fast Setting Adhesive For Fixing Tiles And Stones: Weberset fastfix is a fast setting, highly polymer modified, high-performance thin-set adhesive, for fixing tiles, stones and mosaics, on a variety of surfaces, for wall and floor application, in internal as well as external area. It is designed for installation of tile & stones for overnight repair, renovation and faster fixing, supplied as a dry mix mortar, to which water needs to be added before application.
-

 weberfix drywall
Adhesive For Large Format Stones On Drywall And Plywood: Weberfix drywall is a two-component high-performance tile and stone adhesive, which can be used for almost all types of tiles, over almost all types of substrates including green and moisture-sensitive marble & agglomerates. Weberfix drywall is specially formulated, for fixing large format tiles & stones on drywalls and plywood.
-

 weberfix PU
Pu Based Thinset Adhesive - For All Types Of Tiles & Stones On Any Substrate: Weberfix pu is a two-component, ready to mix, polyurethane-based thin-set adhesive for fixing all types of tiles and stones on a variety of substrates including metal surfaces and drywall boards. Weberfix pu is suitable for application on the interior as well as exterior wall and floor.
