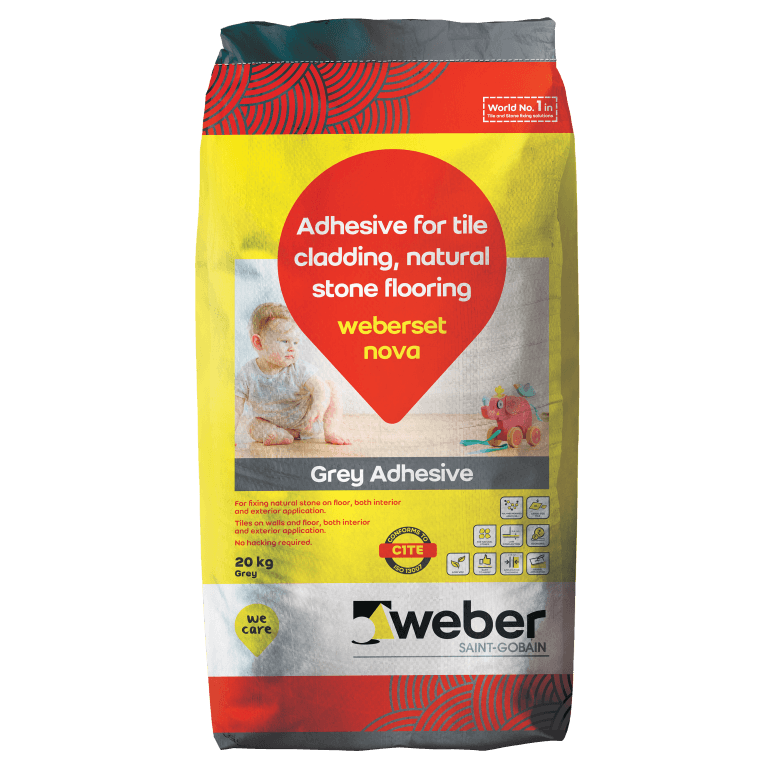
Weberset Nova


Packaging
20 kg grey bag | 40 kg bag | 20 kg white bag | 40 kg white bag
Adhesive for fixing natural stone on floor and vitrified tile on wall & floor
High bond strength | Easy to use | Self curing
Support
Wall, Floor
weberset nova is a high polymer modified thin-set tile and stone adhesive, which is especially formulated for fixing low porosity vitrified tiles on walls and floor, and natural stones on the floor. The adhesive can be used in internal as well as external conditions, in dry as well as wet areas.
• High Bond strength.
• Free-flowing product makes it easier to mix and apply-Easy to use.
• Useful for bed thickness of 3-12 mm. May go up to 15 mm in a limited extent.
• Thixotropic formula – no sag, for easy application on wall.
• Low VOC – For a healthy living.
• For installation of vitrified tiles on wall and floor and Natural stones on the floor.
• Suitable for internal and exterior use.
• Can be used for new construction, as well as for renovation over existing floors/facades.
• Self-curing properties, which allows for no-hassle application, with minimum labour.
• No Hacking of substrate required to achieve the required bonding.
• Do not use on wet screed. Surface must be fully cured.
• Do not use on gypsum plaster or boards, fibre cement boards, or other drywall partitions.
• Do not use for Installing Glass mosaic, glass tiles, or metal tiles. Use only weberset glass mosaic for fixing glass mosaics, and only Weber bond poxy, for fixing glass and metal tiles.
• Do not use for wooden flooring, or for insulating and soundproofing panels.
• Do not use on waterproofing coat, except if done with Webertec SBR or Webertec crete.
• Do not use for fixing artificial stone or impregnated stone. Use Weberset ultra for the same.
Weberset Nova Related Products
-

 weberset premier
Adhesive For Fixing Ceramic Tiles On Wall And Floor: Weberset premier is a polymer modified cementitious tile adhesive for fixing ceramic tiles of regular size on the wall and floor and porous natural stone on the floor. For internal floor and wall areas, for fixing tiles.
-

 Weberset Classic
Adhesive For Fixing Vitrified Tiles On Floor As Well As For Tile-on-tile Application: Weberset classic is a polymer modified cementitious tile adhesive used for fixing vitrified tiles on the floor, ceramic tiles on wall and floor of regular size, over old tiles and other flooring materials. For internal floor and wall areas, superior bond strength for fixing tiles.
-

 Weberset Plus-white
Adhesive For Window Framing, Tile Cladding, Natural Stone Flooring: Weberset Plus-white is a polymer modified cementitious tile adhesive used for fixing vitrified tiles and natural stones on wall and floor, for internal as well as external areas. It has been specially modified to give high bond with natural stone, even when used at high bed thickness, making it appropriate to be used on window sill/jams.
