Weberfloor Slurrybond

Packaging
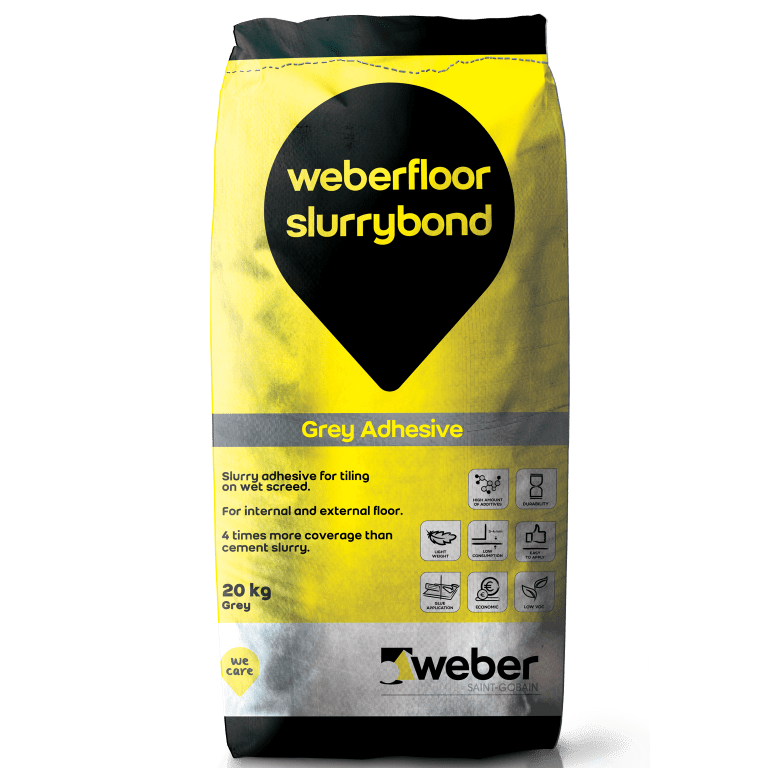
20 kg grey bag
Weberfloor slurrybond is a highly polymer-modified, cementitious adhesive, that can be used in slurry form, on wet screed, for wet-on-wet fixing of tiles and stones, as well as an adhesive paste for fixing tiles and stones on floor and wall. In slurry form, it replaces the cement slurry which has been traditionally used for fixing floor tiles/stones. It also provides additional strength to the screed itself, and increase the tiling speed.
Easy to apply | Large size tile durability | Low Consumption | Low VOC | Economic
Support
Floor
- Gradually add 6 parts Weberfloor slurrybond to 2 parts clean water (by volume) and mix it to a lump-free, smooth, workable paste using a suitable stirrer or a low-speed drill mix. This paste can be used as tile adhesive.
- To make a slurry, add additional 3 parts water, and mix to form a smooth, lump-free slurry.
- After mixing allow the mixture to stand for 5 minutes for it to mature.
- NOTE: Do not add anything, like additional water, cement or sand, to the mix, as it may adversely effect the performance of the product.
- 4 times more coverage than Cement slurry
- Free-flowing – no need for troweling
- Shrink resistant
- Provides additional strength to screed, as polymers travel to the screed while applied in the wet-on-wet condition
- Easy to use
- Highly polymer modified for high strength bonding.
- Dual-use: Can be used a slurry adhesive, or as a thin-set tile adhesive.
- Very high pot life ensures higher speed of tiling and no wastage.
- Water needs to be continuously added to cement slurry, which reduces strength. No such issues with weberfloor slurrybond.
- High Adjustability time. Cement slurry does not offer an adjustment time, and if the tile needs to be adjusted, the slurry needs to be replaced. Further reduces wastage.
As slurry :
- Not to be used on preset screed
- Not to be used on wooden, metal or glass substrates
- Only to be used for floor application
As thin-set adhesive :
- Can be used for internal as well as external, floor as well as wall application, in accordance with the Tile/substrate sheet.
Weberfloor Slurrybond Related Products
-

 weberfloor cementonic
Gel Based Additive For High Performance Cement Slurry: Weberfloor cementonic is a gel-based high-performance additive, for traditional tile-laying method, using a cement slurry, over freshly laid screed. It is to be mixed in water which is to be used for making the cement slurry. In addition, weberfloor cementonic can also be used to enhance the strength of the screed as well. Use of weberfloor cementonic greatly reduces the total cost of application, by vastly increasing the coverage of cement slurry, and decreasing the curing time.
-

 weberset glass mosaic
Adhesive For Fixing Glass Mosaics: Weberset glass mosaic is a polymer modified cementitious tile adhesive especially for fixing glass mosaic, internal and external floor and wall areas, high bond strength for glass mosaic, low porosity tiles and stones.
-

 weberset fastfix
Fast Setting Adhesive For Fixing Tiles And Stones: Weberset fastfix is a fast setting, highly polymer modified, high-performance thin-set adhesive, for fixing tiles, stones and mosaics, on a variety of surfaces, for wall and floor application, in internal as well as external area. It is designed for installation of tile & stones for overnight repair, renovation and faster fixing, supplied as a dry mix mortar, to which water needs to be added before application.

